Adding BankingBridge Event Tracking to Google Tag Manager
Add a new tag
- Obtain your Google Analytics property ID. For instructions, see this support article.
- Log in to your Google Tag Manager account.
- Open the Default Workspace (or create a new workspace if you prefer).
- On the Overview screen, click Add a new tag.
- Name the tag "UA Event - BankingBridge Event".
Configure the tag

Blank configuration for the new tag
- Click the Tag Configuration box and select Google Analytics: Universal Analytics as the tag type.
- Select Event from the Track Type box.
- In the Event Tracking Parameters section, click
 next to the Category box to add a new variable.
 - In the Choose a Variable screen, click
 to add a new variable.
 - Name the new variable "dlv - event_category" and click on the Variable Configuration box.
- Select Data Layer Variable as the variable type.
- In the Data Layer Variable Name box, type "event_category".
- Click Save in the top-right to save the variable.
You will be returned to the Tag Configuration screen, and you should see the new variable {{dlv - event_category}} show up in the Category box.
Repeat steps 8 - 14 for the Action and Label boxes by creating the following variables:
- Variable Name: "dlv - event_action"; Data Layer Variable: "event_action"
- Variable Name: "dlv - event_label"; Data Layer Variable: "event_label"
When you have created all three variables, you should see them in the Tag Configuration box.

The new tag configuration complete with variables
Add your GA ID
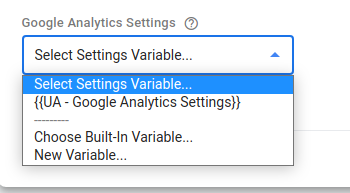
- If you have a Google Analytics Settings variable already configured, select it from the Google Analytics Settings box.
- If you do not have a Google Analytics Settings variable
- Click the checkbox next to Enable Overriding Settings for this Tag.
- Input your Google Analytics Property ID in the Tracking ID box.
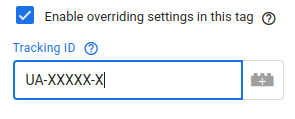
- Click the checkbox next to Enable Overriding Settings for this Tag.
Add a new trigger

Blank triggering panel
- Click on the Triggering panel below Tag Configuration.
- Click to add a new trigger.
- Name the new trigger "Banking Bridge Event" and click the Trigger Configuration box.
- Select Custom Event as the trigger type.
- Type "BBEvent" in the Event Name box.
- Click Save in the top-right to save the trigger.
Review the trigger before saving
Now that you have added a new tag and a new trigger, check to make sure that everything is correct.

Review the new tag and trigger before saving
If everything looks good, click Save in the top-right. This takes you back to the Overview screen. Here, you can review your configuration.
Test your configuration
If you want to test your configuration, follow these steps:
- Click Preview. Google Tag Assistant opens in a new browser tab.

- Type the URL of a page containing the Banking Bridge embed.
- Click Connect. A new browser window will open with your site in GTM preview mode.
- Go through all of the steps in the Lead process.
- When finished, return to the browser tab running Google Tag Assistant.
- Ensure that the UA - Event - BankingBridge Event tag is listed under Tags Fired for each BBEvent event.
- Click the UA - Event - BankingBridge Event tag to view details.
- Where it says "Show Variables as:" select Values.
- Ensure that values are loaded in the Category, Action, and Label fields and that your Tracking ID is correct.
- Once you have verified that everything functions correctly, close the window with your web page and the Google Tag Assistant tab in your browser.
Publish your changes
Now, you are ready to publish the changes you have made.
- In the top-right of the Google Tag Manager Overview Screen, click Submit.
- In the Submit Changes screen, type "Banking Bridge Google Analytics Events" in the Version Name box.
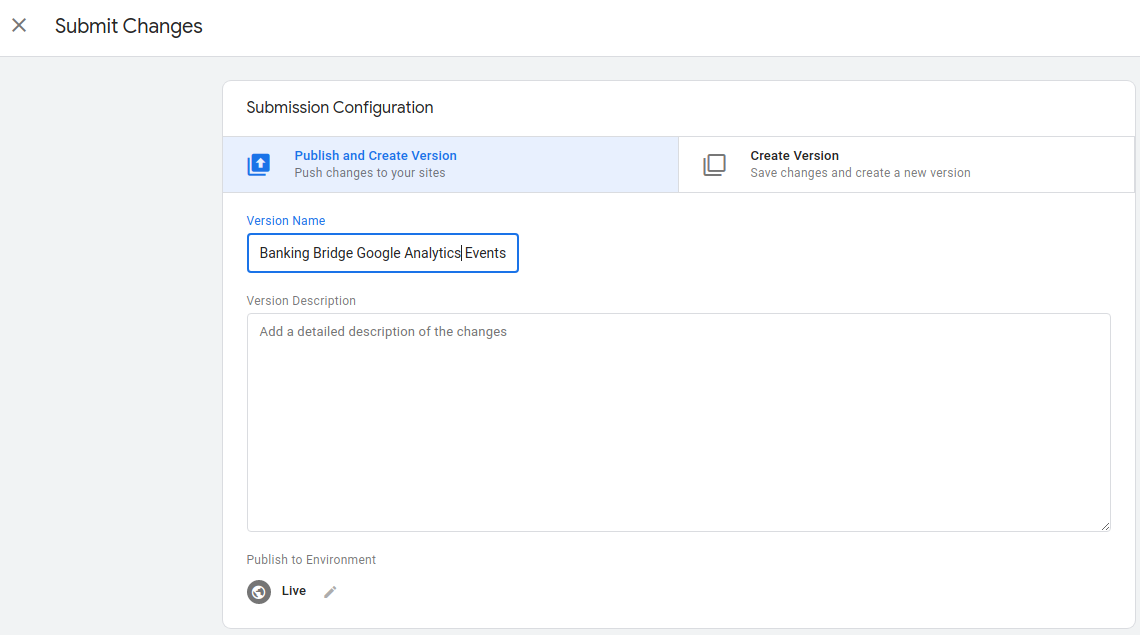
- Click Publish.
When you have returned to the Google Tag Manager overview screen your changes are live on the site, and events should start recording in Google Analytics.
Updated about 1 year ago